How to Upload Products
1. Create a new product
Navigate to the blue "Add Products" button on your dashboard, after click this, select the game your product is for.

2. Product Details
Now that you are looking at the new product submission form, it's pretty straightforward. On the left each box will be ticked off once you have fully completed the information required, this will give you an easy guide to what you need in uploading your product. Make sure to refer to the product guidelines for information on what is required and appropriate in uploading products.
3. Product Images
Featured Image
Your featured image is the first thing that prospective customers will see, so take your time to create an interesting, high-quality featured image for your product.
Adding Images
You must add at least one additional product image. We recommend adding 4–6 product images. These images are an opportunity to present a new view of your product, demonstrate its functionality, or show it in action. They will appear at the top of your product page and will be the first things that customers see once they have clicked on your product.
You can add image overlays to your product images so long as they are intended to better present the product. Overlays should not be used for branding, adding watermarks, or anything else of the sort.
4. Description, Categories, & Tags
This section of the product form allows you to a description. The description that you write up will be visible to all potential customers, right from your product's main page. This description may be a deciding factor in a customer's decision to purchase your product, so take your time to write it well. Choose Categories and Tags that are relevant to your product and that will help customers find your product when they are searching for something like it. You should choose one main category a max of 3 sub-categories.
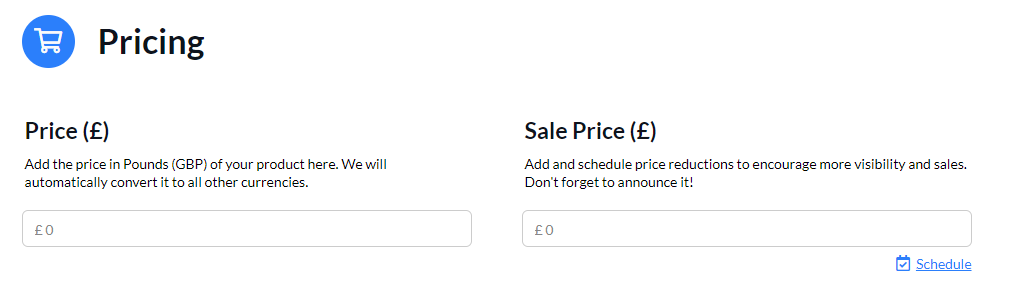
5. Pricing
You have 2 fields when pricing your product, the normal price and sale price. The sale price is a reduced price / discount on your product, this will display a SALE tag on your product.
 If you are based in a country where there is a different currency don't worry, all prices will be converted to you local currency upon withdrawing your funds.
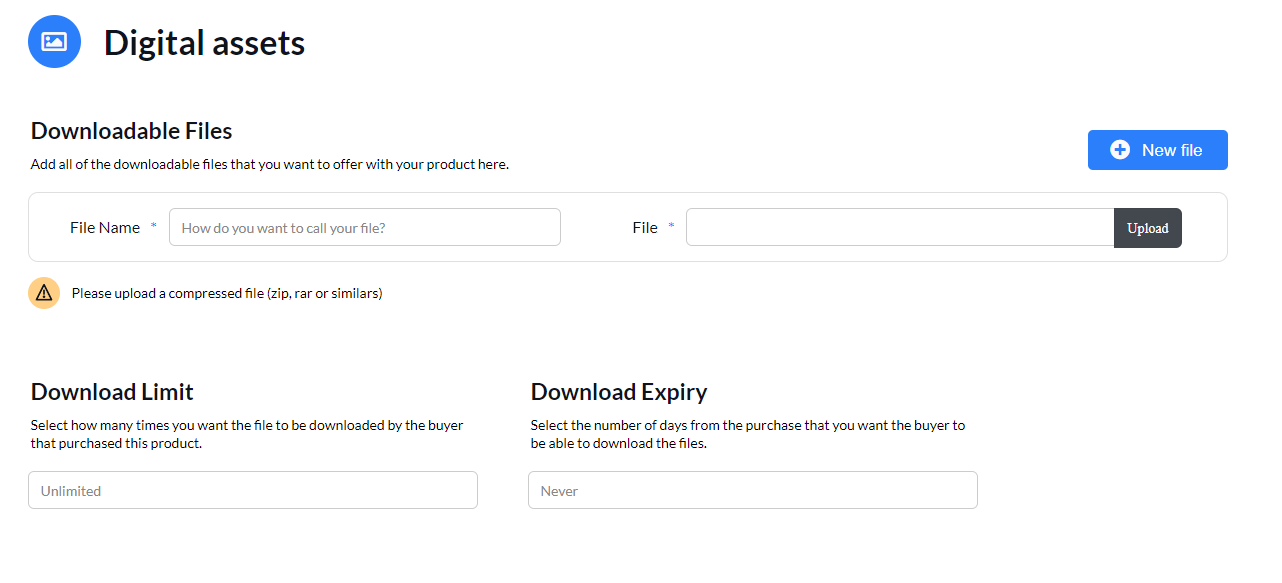
6. Uploading Digital Files
When upload your file you must be uploading the appropriate file which contains the advertised contents of your product.
Downable Files
- File Name
- This is what the customer will see when they download the file, it should be simple and clear e.g My Cool Game file.
- File
- Use the upload button to upload your content.
- If your file is too big or you need to upload multiple different files, use the New File button.
All files must be in a .zip format, you can do this by compressing your rbxl / rbxm files in file explorer.
Download Limit
This must be set above 1 in order to allow your customer to download the file. it is advised to leave this blank to allow the customer to download an unlimited amount of times.
Download Expiry
It is also advised you leave this empty however if you do want to have an expiry for when the customer can no longer download this can be set here.
7. Submitting for Review
 When you are ready to submit your product for review, click the submit for review button and your product will be processed to the virtual management team.
After you have submitted your product, it will be added to our review queue. Success! On average, it takes 1-3 days to get through the initial review (sometimes more if we get a lot of submissions at the same time). We will work to review it as quickly as we can and notify you (via your Inbox) of any necessary changes. Once it has passed inspection, the product will be approved for sale on the Clearly Development Marketplace.